Deleting a server permanently erases all data on its disks and cannot be
undone. Ensure you are deleting the correct server. Note that it may take up
to an hour for the deletion to reflect on your billing summary.
-
Open the server’s page on the dashboard.
-
Click Actions and select Delete server.
-
Confirm the deletion by typing the server’s hostname.
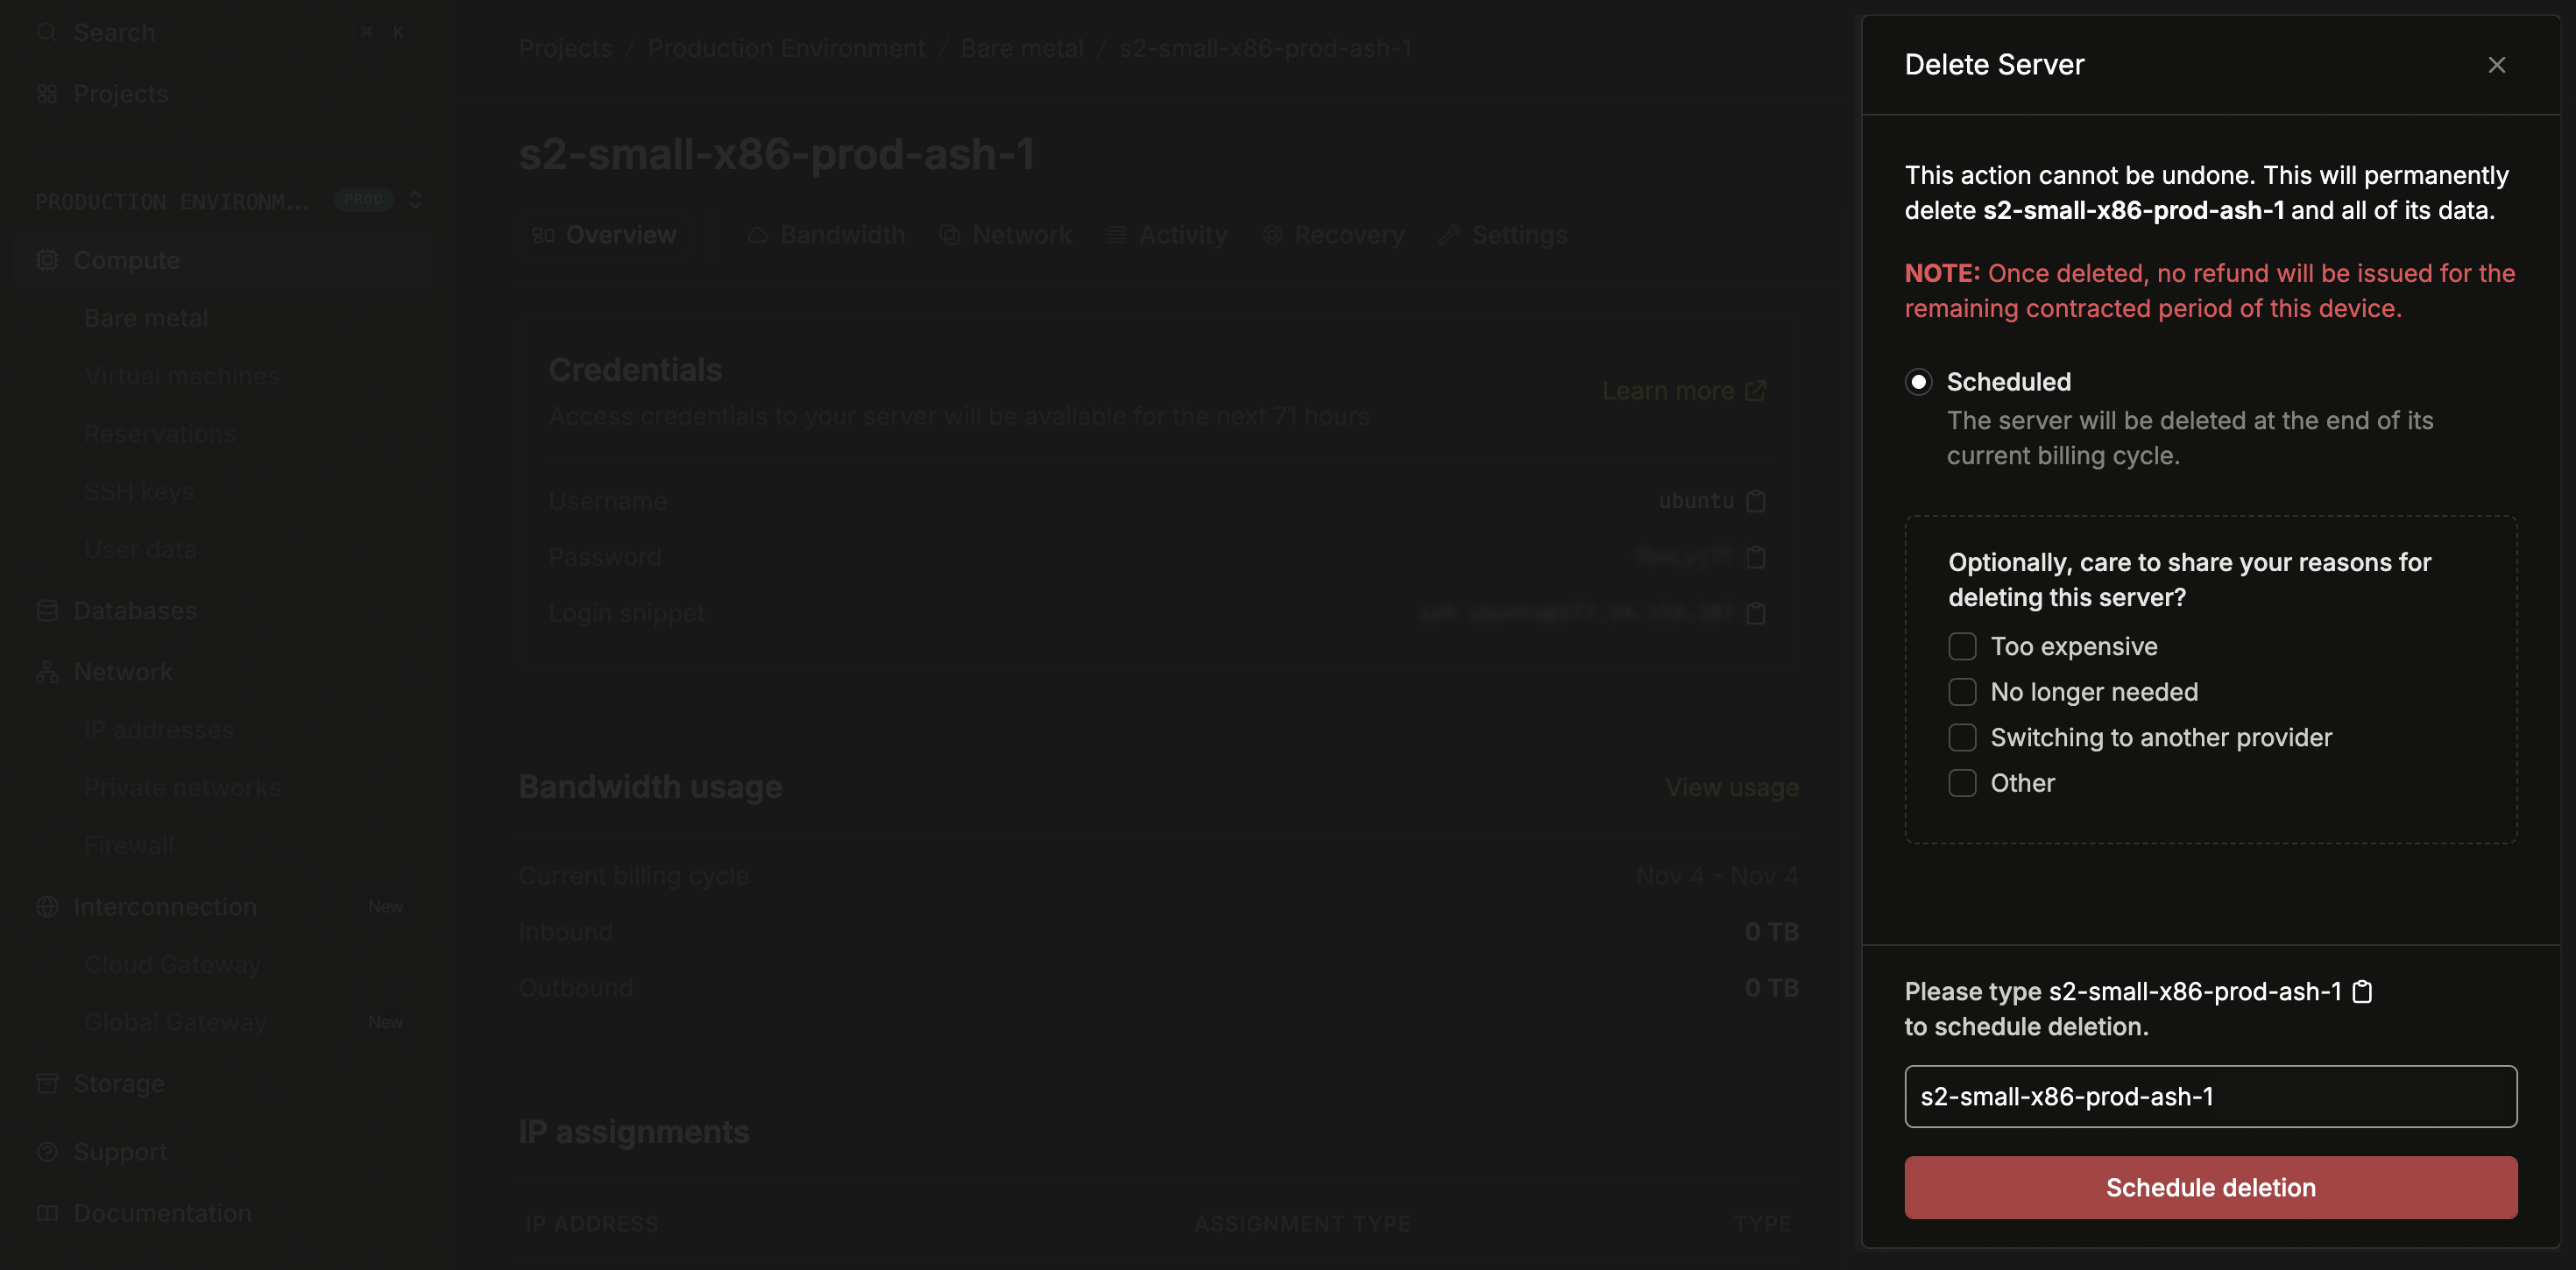
Scheduled deletion
You can schedule a server for deletion at a future date, allowing you to plan decommissioning while the server continues running.
To schedule a deletion:
-
Open the server’s page on the dashboard.
-
Click Actions and select Schedule deletion.
-
Choose the date and time for the deletion.
-
Confirm by typing the server’s hostname.
When a server is scheduled for deletion, an alert banner appears on the server details page showing the scheduled date.
Canceling a scheduled deletion
You can cancel a scheduled deletion before it occurs.
-
Open the server’s page on the dashboard.
-
Find the alert banner indicating the scheduled deletion.
-
Click Cancel on the alert banner.
The server will continue running normally.